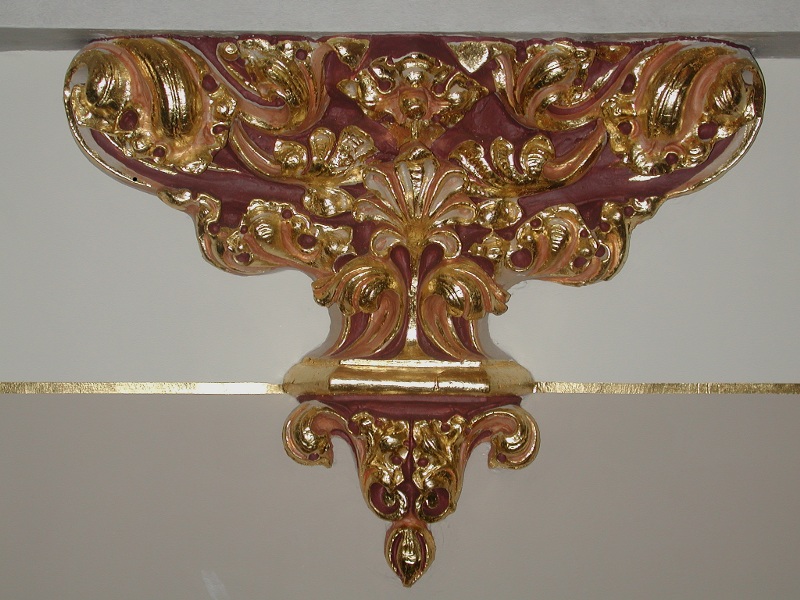
Showing posts with label ST JOSEPH'S CHURCH. Show all posts

Thursday, October 20, 2011

ST. JOSEPH'S CHURCH FALL 2006 - ANGEL STATUES

I was asked to come back to St. Joseph's in the fall of 2006 to do a marble faux-finish on two angel statues. I wish I had better pictures of these statues. The finish on them is quite nice. I actually love how they turned out.


Thursday, July 28, 2011

ST. JOSEPH'S - STATUES 2006

During the spring of 2006, I was asked to go back and fix and repaint some statues of saints for St. Joseph. A few decades earlier the statues were painted a light gray color. Perhaps to give the appearance of stone...I really don't know why, but they were sure drab looking. Before I came in, the statues were lightly sanded and primed by a paint crew. Afterward, I came in to fix broken fingers and other parts and repaint them.


Before pic of St. Vincent de Paul.


Before pic of St. Therese. Her eyes are glass - we discovered this
during the restoration.


Me doing some detail painting.


St. Therese finished right before installation.


St. Vincent de Paul finished.


Finished St. Ignatius on marble pedestal. He was positioned on the left
side of the back wall near the confessional room.


St. Vincent de Paul finished. He is on top of an oak leaf and acorn shelf
that I gilded and painted. He is positioned on the left side near the main
entry of the church.


St. Joseph finished. He is positioned on the right side of the main entry.


Finished St. Therese on a marble pedestal. She is located on the right
side of the back wall near the balcony stairs.


View of all the Saints on the back wall.

Monday, June 13, 2011

ST. JOSEPH'S RESTORATION - STATIONS OF THE CROSS (2005)

The stations of the cross were actually restored back in the winter/spring of 2005. We cleaned the actual marble and then gilded and faux finished the the framing of each station.


The base and top were stone faux finished and gilded by me and MB and the
columns and pilasters were marbleized by Dave S. I wanted this pic and the
detail pic to help better explain the next project.


I was asked by TL in the fall of 2005 to come back to make a computer mock-up.
At
this point in the project, they were working in the stairways to the choir balcony
and the con
fession room. They knew this area had some stenciling where the the
wall meets the ceiling.


This is what they found. I took a couple of pictures of the original stencil and
then went home and vector traced the photo to create a stencil for the job.


This is what I digitally created.


I then colored the vector drawing and placed it on a photo of one of the stations.
They loved the mock-up; but unfortunately, the budget ran out and they opted
to not do this project.


Wednesday, June 8, 2011

ST. JOSEPH'S RESTORATION 2004 - THE SIDE ALTARS

Here are some pics of the side altars. This was, what I thought to be, the last part of the job. All the scaffolding with the exception of the scaffolding in the pic was removed. I was actually bummed to see the scaffolding go...should I say this...well I really loved climbing the stuff. Of course, the climbing only happened when something needed to be gilded or faux finished.


The two pics, the one above and the one below are 'in progress' of both the left and
right side altar respectively. The above pic, shows how I, with the help of my partner,
used a computer to design the shape and a projector, with the help of the other artists,
to trace the shape onto the wall. If you look closely on the red wall you will notice two
chalk lines that mimic the shape seen on the computer screen. It was necessary f
or us
to do this since the altar space had two arched openings and one arched window that
were all different in height and width, thus making the wall space asymmetr
ical.


Here Dave S and I are gilding small squares on the wall behind the Virgin Mary Altar.
If you look closely
you might notice how the color gradually changes as it gets closer to
the marble altar
. We did a ragging technique using three different glazes over the original
color. I also gilded star shapes onto the ceiling.


The above pics show the side altars finished. I unfortunately wasn't around to see the
side altars fully completed since I had to go to Colorado for a memorial.
The figures
were painted by the sister of the liturgical designer. (I completely forgot her name - ugh.)
I did help her sketch some of the figures onto canvas and I even modeled for one of the
angels. Of course, it looks nothing like me. She just needed to get the gesture and pose right.


I also helped Dudley - this awesome and hilarious foreman - hang the painted angels.
We used wall paper glue to adhere them to the wall.

ST. JOSEPH'S RESTORATION 2004 - THE CEILING

In the summer of 2004, I was asked by Craig B if I wanted a job restoring St. Joseph's Catholic Church. "HECK YEAH!!!!" I was so excited to shift gears away from remodeling and towards the Arts. Since receiving a BFA, I had always wanted to find gainful employment doing something I both knew and loved - that being art. Secondly, I love the idea of making things beautiful - and in this case - making things even more beautiful! (Click here: To find out more about St. Joseph's Church in Macon.)


This pic is a view of the rose window near the choir and pipe organ balcony. This
half of the church was finished from top to bottom first and then the scaffolding was
taken down and moved over to the other half of the church to finish up the restoration.
For this part of the project, we (Dave S,
Craig B and Me) were responsible for faux
finishing columns and window frames along with painting and gilding decorative
elements. I primarily focused on gilding and painting decorative elements.


These pics are of the ceiling that is above a small part of the nave; the crossing
and transepts; and the main and side altars. By now, I was helping Dave S with
faux-finishing windows and column bases. I continued to gold leaf and paint the
decorative elements.
The last pic is a detail of the rosettes on the barrel
vaulted ceiling.


This is a pic of the dome located above the crossing. I gilded and painted the
decorative elements and did the gold leaf lines. This was the highest point and
surprisingly
not the
scariest place I had been on this project. The ladder climb
up to the scaffolding platform
from the top platform of the main scaffolding was
scary but, as soon as, I was in the space
and could not seethe floor below, then
I felt fine. The most scary part of my job was actually being on my tippy-toes on
a ladder on top of rolling scaffolding that was strategically placed
at the edge of
the high top platform of the main scaffolding.